Introduction to Desoldering Holes on Circuit Boards
Desoldering is the process of removing solder from a circuit board hole, which is often necessary when repairing or modifying electronic devices. Whether you’re a professional electronic technician or a DIY enthusiast, knowing how to properly desolder a hole can save you time and frustration while ensuring the integrity of your circuit board.
In this comprehensive guide, we’ll cover everything you need to know about desoldering holes on circuit boards, including the tools and techniques required, step-by-step instructions, and tips for achieving the best results.
Why Desolder a Hole on a Circuit Board?
There are several reasons why you might need to desolder a hole on a circuit board:
-
Replacing components: If a component on your circuit board is damaged or needs to be upgraded, you’ll need to desolder it from the board before installing a new one.
-
Repairing connections: Faulty solder joints can cause intermittent or complete failure of a device. Desoldering the affected hole allows you to clean it and resolder the connection properly.
-
Modifying circuits: When modifying a circuit board, you may need to remove components or change the layout, which requires desoldering.
-
Cleaning holes: Excess solder or debris in a circuit board hole can prevent components from fitting properly. Desoldering the hole allows you to clean it thoroughly.

Tools Required for Desoldering
To successfully desolder a hole on a circuit board, you’ll need the following tools:
| Tool | Description |
|---|---|
| Soldering iron | A temperature-controlled soldering iron with a fine tip is essential for precise desoldering. |
| Desoldering pump (solder sucker) | This spring-loaded tool creates a vacuum to suck up molten solder from the hole. |
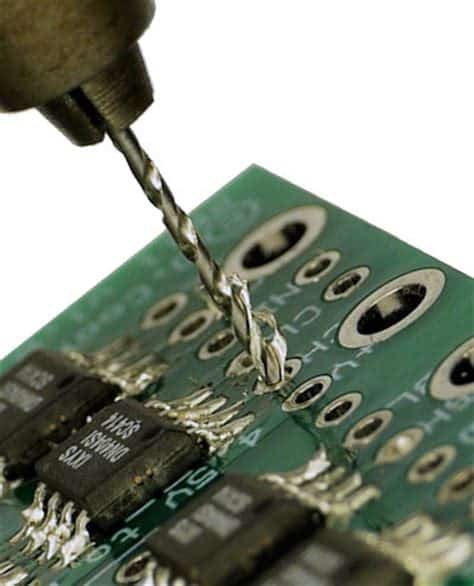
| Desoldering braid (solder wick) | A braided copper wire coated with flux that absorbs molten solder when heated. |
| Flux | A chemical agent that helps solder flow and adhere to the surface of the circuit board. |
| Tweezers | Used for handling small components and removing debris from the hole. |
| Isopropyl alcohol and cotton swabs | For cleaning the circuit board and hole after desoldering. |
Step-by-Step Guide to Desoldering a Hole
Follow these steps to successfully desolder a hole on your circuit board:
Step 1: Prepare your workspace
- Ensure your work area is well-ventilated and clean.
- Gather all the necessary tools and materials.
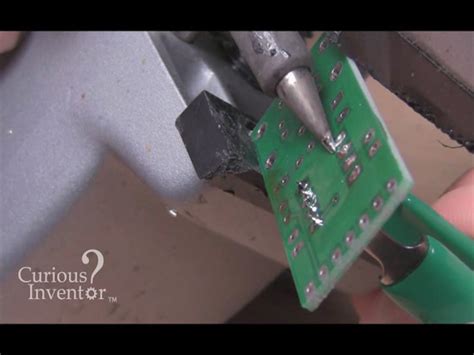
- Secure the circuit board using a PCB holder or clamp to prevent it from moving during the desoldering process.
Step 2: Heat the solder joint
- Set your soldering iron to the appropriate temperature (usually between 300°C and 400°C).
- Apply a small amount of flux to the solder joint to help the solder melt more easily.
- Touch the tip of the soldering iron to the solder joint and wait for the solder to melt. This usually takes a few seconds.
Step 3: Remove the molten solder using a desoldering pump
- Position the tip of the desoldering pump close to the molten solder, making sure not to touch the circuit board.
- Press the release button on the desoldering pump to create a vacuum.
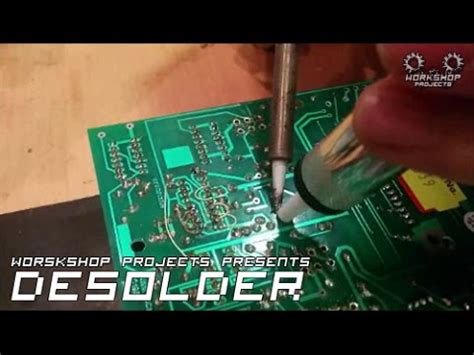
- Quickly place the tip of the pump over the molten solder and release the button. The vacuum will suck up the molten solder.
- Repeat this process until most of the solder is removed from the hole.
Step 4: Clean the hole using desoldering braid
- Cut a piece of desoldering braid slightly longer than the hole you’re desoldering.
- Place the braid over the hole and press the tip of the soldering iron onto the braid.
- As the braid heats up, it will absorb any remaining solder from the hole.
- Move the braid and soldering iron along the hole to ensure all the solder is absorbed.
- Once the hole is clear of solder, remove the braid and soldering iron.
Step 5: Clean the circuit board and hole
- Dip a cotton swab in isopropyl alcohol and gently clean around the desoldered hole to remove any flux residue or debris.
- Inspect the hole to ensure it’s clear of solder and debris. If necessary, repeat steps 3 and 4 until the hole is completely clean.

Tips for Successful Desoldering
-
Use the right tools: Investing in high-quality desoldering tools will make the process easier and more effective.
-
Control the temperature: Set your soldering iron to the appropriate temperature for the solder you’re using. Too high a temperature can damage the circuit board, while too low a temperature will make desoldering difficult.
-
Work quickly: Once the solder melts, remove it quickly to prevent it from re-solidifying in the hole.
-
Be gentle: Avoid applying too much pressure when using the desoldering pump or braid, as this can damage the circuit board or surrounding components.
-
Practice: Desoldering requires skill and practice. Start with simple projects and work your way up to more complex ones as you gain experience.
Common Mistakes to Avoid When Desoldering
-
Overheating the circuit board: Applying too much heat for too long can damage the circuit board and surrounding components. Work quickly and efficiently to minimize heat exposure.
-
Using the wrong tools: Using low-quality or inappropriate tools can make desoldering more difficult and potentially damage the circuit board.
-
Applying too much pressure: Pressing too hard with the desoldering pump or braid can damage the circuit board or lift the copper pads.
-
Not cleaning the hole thoroughly: Leaving solder or debris in the hole can prevent components from fitting properly and cause issues with the device’s functionality.
-
Not using flux: Flux helps the solder melt more easily and flow better, making desoldering easier and more effective.
Frequently Asked Questions (FAQ)
-
What is the best temperature for desoldering?
The ideal temperature for desoldering depends on the type of solder being used. Generally, a temperature between 300°C and 400°C is suitable for most applications. Consult the solder manufacturer’s specifications for the most accurate temperature range. -
Can I desolder a hole without a desoldering pump?
While a desoldering pump is the most effective tool for removing molten solder, it is possible to desolder a hole using only desoldering braid. However, this method may take longer and require more skill to achieve a clean result. -
How do I know if I’ve removed all the solder from the hole?
After desoldering, inspect the hole closely using a magnifying glass or microscope. The hole should be clear of solder and debris, and you should be able to see through it. If you’re unsure, try gently inserting a component lead or a small pin into the hole to check for obstructions. -
What should I do if I accidentally damage a pad while desoldering?
If you lift or damage a copper pad while desoldering, you may need to repair the pad using a special copper tape or conductive epoxy. In some cases, you may need to create a jumper wire to bypass the damaged pad. If you’re unsure how to proceed, consult an experienced electronic technician for guidance. -
Can I reuse the solder that I’ve removed from a hole?
While it’s technically possible to reuse solder that you’ve removed from a hole, it’s generally not recommended. The solder may contain impurities or debris that can affect its performance and potentially damage your circuit board. It’s best to use fresh solder when resoldering components.
Conclusion
Desoldering is an essential skill for anyone working with electronic devices and circuit boards. By following the steps outlined in this guide and using the right tools and techniques, you can successfully remove solder from a circuit board hole, allowing you to repair, modify, or clean your device as needed.
Remember to work patiently, maintain a clean workspace, and always prioritize the safety of your circuit board and components. With practice and perseverance, you’ll soon master the art of desoldering and be well on your way to becoming a skilled electronic technician.

No responses yet