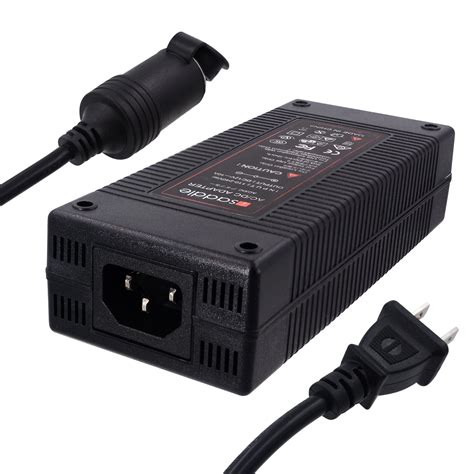
Understanding AC-DC Converter Basics
Before we dive into the design process, let’s briefly discuss the basics of AC-DC converters.
AC vs. DC
- Alternating Current (AC): AC is an electric current that periodically reverses direction and changes its magnitude. It is the standard form of electricity delivered to homes and businesses.
- Direct Current (DC): DC is an electric current that flows in a single direction with a constant voltage. Electronic devices typically require DC power to operate.
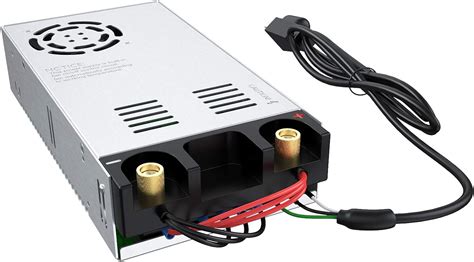
AC-DC Converter Types
There are several types of AC-DC converters, each with its own characteristics and applications:
| Converter Type | Description | Applications |
|---|---|---|
| Linear Power Supply | Uses a transformer, rectifier, and filter to convert AC to DC. Simple design but inefficient and bulky. | Low-power devices, audio equipment |
| Switched-Mode Power Supply (SMPS) | Uses high-frequency switching to convert AC to DC. More efficient and compact than linear power supplies. | Computers, televisions, Battery chargers |
| Uninterruptible Power Supply (UPS) | Provides backup power during AC power outages. Combines an AC-DC converter with a battery and an inverter. | Servers, medical equipment, industrial control systems |
Designing an AC-DC Converter in Altium Designer
Now that we have a basic understanding of AC-DC converters, let’s walk through the steps to design one using Altium Designer.
Step 1: Create a New Project
- Open Altium Designer and create a new project by clicking on “File” > “New” > “Project”.
- Give your project a name and select a location to save it.
- Choose the project type as “PCB Project” and click “OK”.
Step 2: Create a Schematic
- In the project tree, right-click on the project name and select “Add New to Project” > “Schematic”.
- Give your schematic a name and click “OK”.
- The schematic editor will open, allowing you to start designing your AC-DC converter circuit.
Step 3: Add Components
- Using the component library in Altium Designer, add the necessary components for your AC-DC converter circuit. This may include:
- Transformer
- Rectifier diodes
- Filter capacitors
- Voltage regulator
- Resistors and capacitors for the regulator
- Place the components on the schematic and arrange them in a logical manner.
Step 4: Connect Components
- Using the wire tool, connect the components according to your AC-DC converter design.
- Ensure that the connections are correct and that there are no missing or incorrect connections.
Step 5: Add Power and Ground Symbols
- Add power and ground symbols to your schematic to represent the AC input and DC output.
- Connect the appropriate components to the power and ground symbols.
Step 6: Annotate and Label
- Annotate your schematic by assigning unique designators to each component.
- Add labels to the input and output pins, as well as any other important nodes in your circuit.
Step 7: Create a PCB Layout
- In the project tree, right-click on the project name and select “Add New to Project” > “PCB”.
- Give your PCB a name and click “OK”.
- The PCB editor will open, allowing you to start designing the physical layout of your AC-DC converter.
Step 8: Define Board Outline and Placement
- Define the board outline by drawing the shape of your PCB using the board shape tools.
- Place the components on the PCB, ensuring that they are positioned in a way that minimizes the overall board size and optimizes signal routing.
Step 9: Route Traces
- Using the routing tools in Altium Designer, route the traces between the components based on the connections in your schematic.
- Ensure that the traces are properly sized to handle the expected current and that they follow good PCB design practices, such as minimizing crosstalk and avoiding sharp angles.
Step 10: Add Copper Pours and Vias
- Add copper pours to your PCB to provide a low-impedance ground plane and improve EMI performance.
- Use vias to connect traces on different layers of the PCB, ensuring proper electrical connectivity.
Step 11: Perform Design Rule Checks
- Run design rule checks (DRC) to verify that your PCB layout meets the specified design constraints.
- Address any DRC violations and make necessary adjustments to your layout.
Step 12: Generate Manufacturing Files
- Once your PCB layout is complete and has passed DRC, generate the necessary manufacturing files, such as Gerber files and drill files.
- These files will be used by the PCB manufacturer to fabricate your AC-DC converter board.
Best Practices for AC-DC Converter Design
When designing an AC-DC converter circuit, consider the following best practices to ensure optimal performance and reliability:
- Choose appropriate components: Select components that are rated for the expected voltage, current, and power dissipation requirements of your converter.
- Minimize noise and EMI: Use proper grounding techniques, shielding, and filtering to minimize noise and electromagnetic interference (EMI) in your converter circuit.
- Consider thermal management: Ensure that your converter design includes adequate heat sinking and airflow to prevent overheating of components.
- Follow safety standards: Adhere to relevant safety standards and regulations, such as UL, CE, and IEC, when designing your AC-DC converter.
- Test and validate: Thoroughly test and validate your converter design to ensure that it meets the specified performance and safety requirements.

FAQs
-
What is the difference between a linear power supply and a switched-mode power supply?
A linear power supply uses a transformer, rectifier, and filter to convert AC to DC, while a switched-mode power supply uses high-frequency switching to achieve the same result. Switched-mode power supplies are generally more efficient and compact than linear power supplies. -
What are the key components in an AC-DC converter circuit?
The key components in an AC-DC converter circuit typically include a transformer, rectifier diodes, filter capacitors, and a voltage regulator. Additional components, such as resistors and capacitors, may be used for the regulator circuit. -
How do I choose the appropriate transformer for my AC-DC converter?
When selecting a transformer for your AC-DC converter, consider factors such as the input voltage, output voltage, power rating, and isolation requirements. The transformer should be able to handle the expected current and provide the necessary voltage step-down or step-up. -
What is the purpose of the rectifier in an AC-DC converter?
The rectifier in an AC-DC converter is responsible for converting the AC voltage from the transformer into a pulsating DC voltage. This is typically achieved using a bridge rectifier, which consists of four diodes arranged in a specific configuration. -
How can I minimize noise and EMI in my AC-DC converter design?
To minimize noise and EMI in your AC-DC converter design, consider the following techniques: - Use proper grounding and shielding techniques
- Incorporate filter capacitors to smooth the DC output voltage
- Use snubber circuits to suppress voltage spikes and ringing
- Follow good PCB layout practices, such as minimizing loop areas and separating sensitive signals from noisy components
By following the steps outlined in this article and adhering to best practices, you can successfully design an AC-DC converter circuit using Altium Designer. Remember to carefully select components, optimize your PCB layout, and thoroughly test and validate your design to ensure optimal performance and reliability.
No responses yet